Background Information
The battery is a critical component of your radio. A degraded battery will reduce the effectiveness and reliability of your system.
The Opus D10, D12 and D14 use an intelligent battery charger and it is important to understand the charging process.
In common with all radio manufacturers, you must turn off the radio whilst it is in the desktop charger. Unlike mobile telephones, two-way radios cannot be used (or switched on) during the battery charging process.
Modern Lithium-ion battery packs can be safely charged following partial use. They do not suffer from the ‘memory effect’ associated with NiCD or NiMH battery packs. However, you must turn off your radio before placing it in the desktop charger.
We do not recommend leaving batteries on charge, unattended, for extended periods (e.g. longer than 48 hours).
Note that the chemicals in battery packs are hazardous. A damaged battery pack is dangerous. Do not use or re-charge a damaged battery. Do not attempt to dispose of a battery in fire. Use a designated recycling point/facility.
All rechargeable batteries have a finite life. As batteries are used, it is normal to expect a decline in performance (operating time). Batteries typically last for 2 years, but in heavy use environments this may be reduced. Allowing a battery to fully discharge before charging will extend the operating life of the battery.
A fully charged battery can be stored for around 12 months without noticeable degradation. However, if you are storing you battery unused for a longer period please try and achieve about 70% charge by either partially charging or discharging as required.
Charging Procedure
You will need an Opus C4L or C6L desktop charger and appropriate AC adaptor.
You can charge the radio battery on or off of the device.
- Place the desktop charger indoors, on a flat, level surface, within 1.5m of a suitable mains power socket.
- Push the plug on the AC adaptor lead into the socket on the desktop charger.
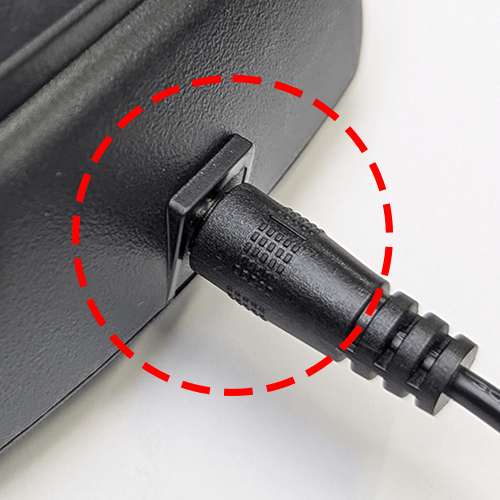
- Plug AC adaptor into a mains socket and switch on the power.
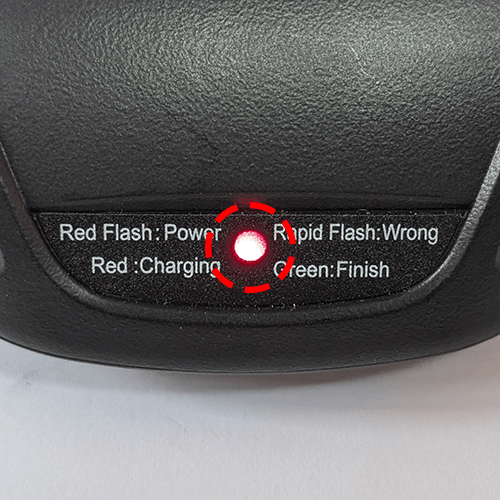
- The desktop charger LED will flash RED every 5 seconds to indicate that power is applied.
- Turn off your radio.
.
- Check that your radio is turned off again - this is important.
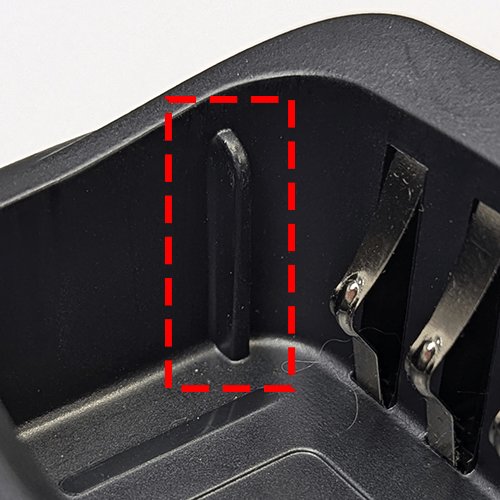
- On either side of the inside pocket of the desktop charger, you will see a ridge or fin.
- On either side of the battery pack, you will see a slot.
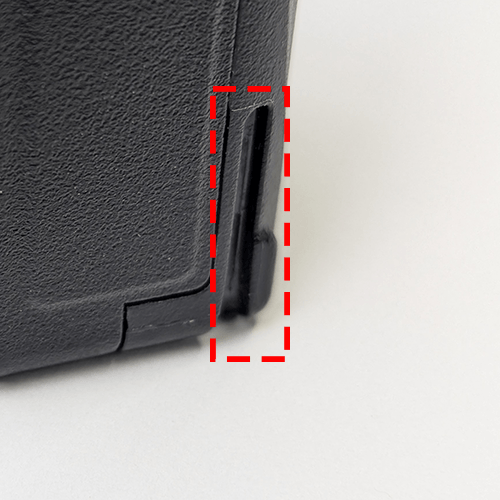
- Insert the radio with the battery fitted (or the battery on it's own) firmly into the desktop charger, aligning the slots on the battery with the charger fins.
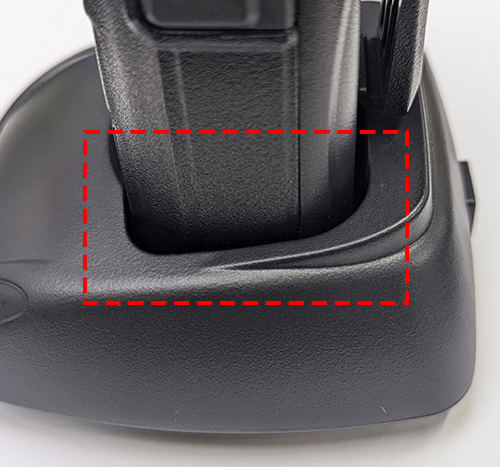
- Ensure the radio/battery is fully inserted into the desktop charger. The connection is deliberately firm to ensure batteries do not fall out if the charger is knocked.
- The desktop charger LED will glow RED to indicate that charging is in progress.
- Charging may take up to 6 hours depending on the amount of charge already in the battery.
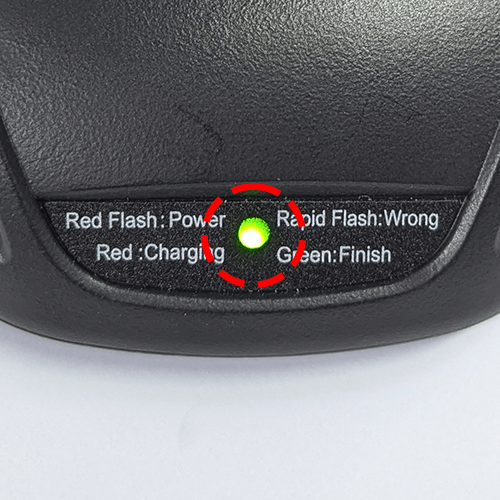
- When charging is complete the desktop charger LED will glow GREEN.
- Carefully remove the radio/battery. Lift the radio/battery vertically out of the charger - do not pull the radio/battery towards you.
- Turn off the mains socket or unplug the AC adaptor to conserve power and reduce your carbon footprint.
Troubleshooting
This list covers issues that you may encounter. Please contact us if you experience any other issues or have different questions or concerns.
Issue | Cause & Resolution |
The Radio LED is flashing RED whilst charging. |
|
Radio emits sounds/messages whilst charging. |
|
Desktop Charger LED does not show any indication. |
|
Radio does not sit inside desktop charger correctly. |
|
Desktop Charger rapidly flashes RED |
|
Desktop Charger never indicates GREEN |
|